Allow me to take a breath into the beautiful Monday morning air and gather all the right energy before continuing to write today’s post.
*inhale*
*exhale*
Ok, let’s continue 🙂
Hey there! Happy Monday!
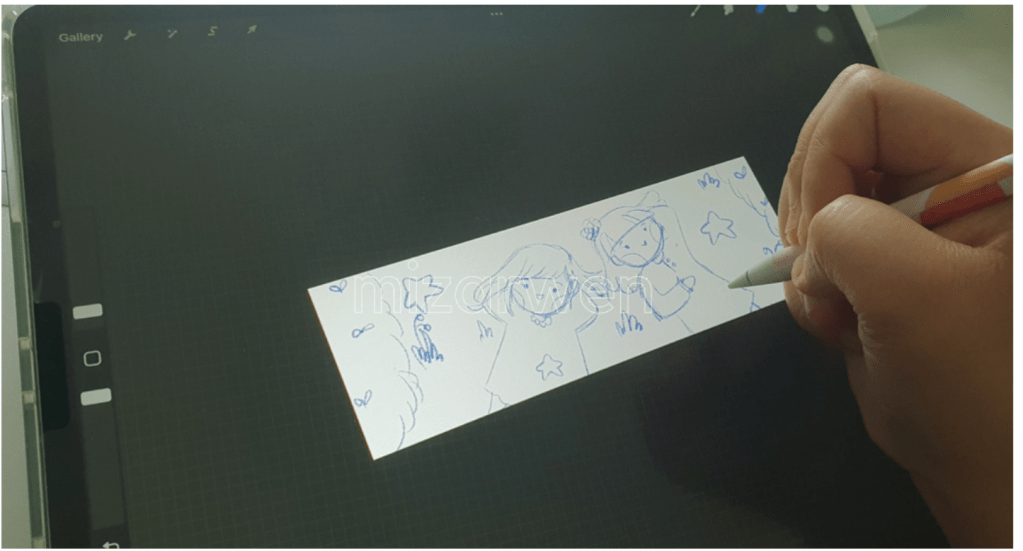
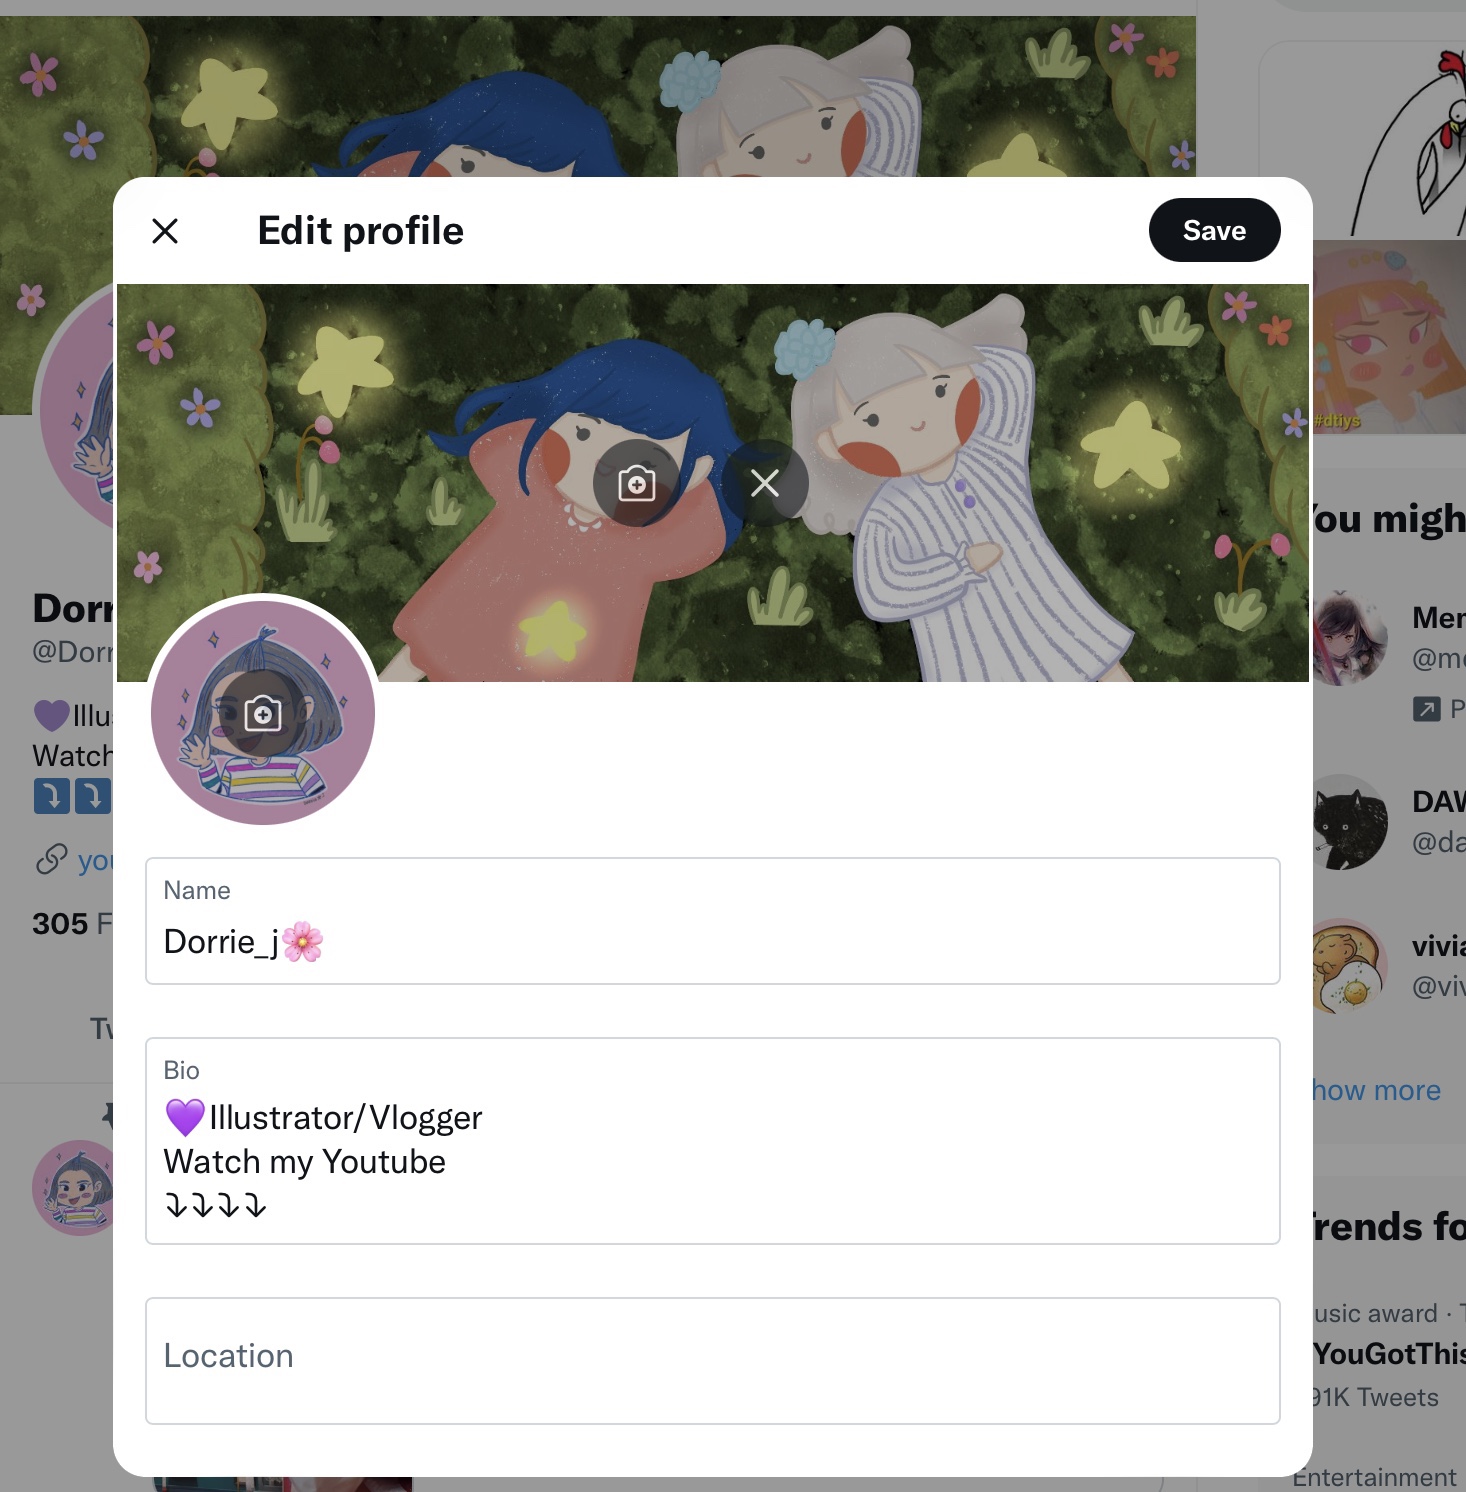
So today I just want to share with you a little bit of my knowledge the process of making a Webtoon. But first you need to do this.
Planning your task. I need to follow a plan in order to do this. So I planned out what task I should do on each day in a week and allowed myself to take one day rest away from work so that I can be ‘human’ again. I have to follow this schedule because I don’t want to suffer from burnout because it happened last time I did my comic strip. I pushed myself to publish 2 comics in a week, but it had an impact on my body and my mental health. I remembered at that time I didn’t find enjoyment in drawing hence I discontinued making them and just deleted the whole comic from Webtoon.
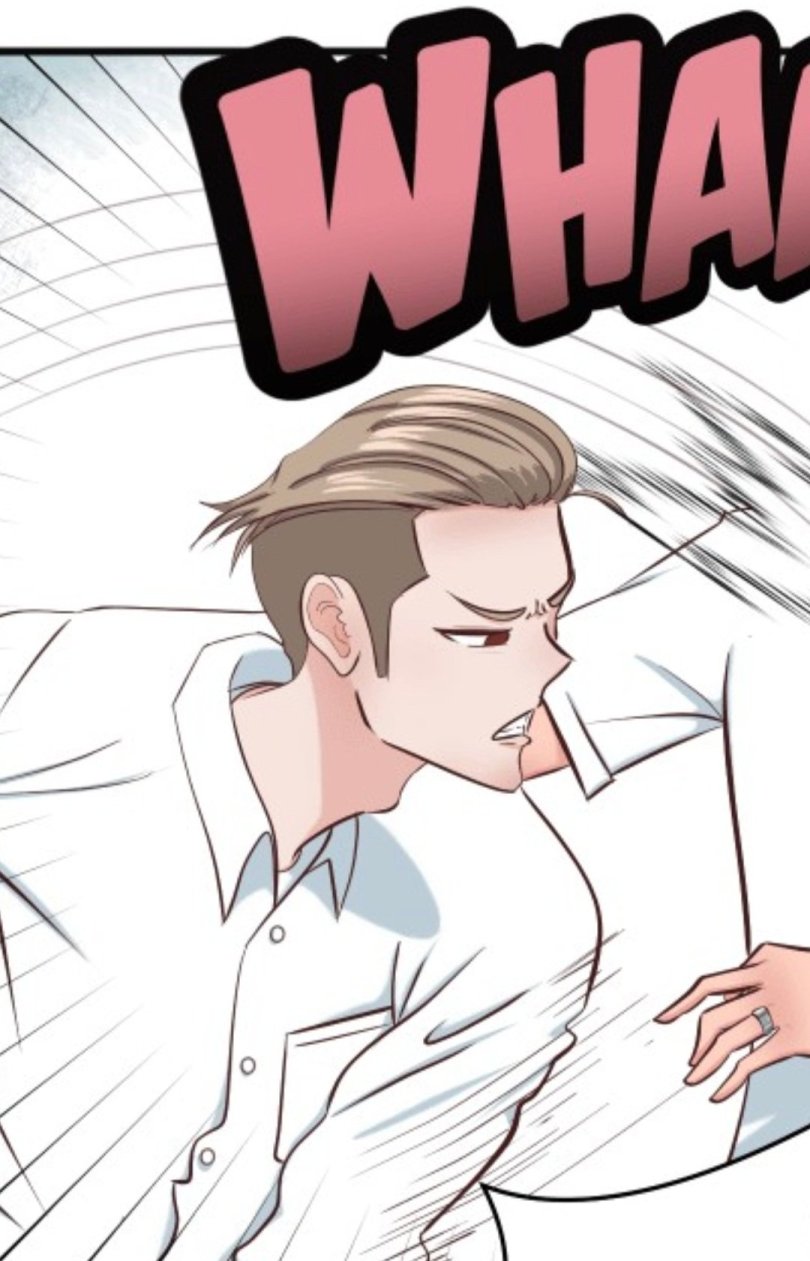
This time, I want to do things properly. Although last week was a trial, I managed to release a new episode just in time for bedtime. New episode 4 read here.
This is my original schedule I had planned for the past two weeks.

But as I have gone through the work, I realized it wasn’t what I thought it’d be. I completely forgot that I had a second page to draw from episode 5. Episode 4 that already posted yesterday (you can read here) has been already in hand (I made one week in advance). I did this so that I won’t be too busy juggling between my Webtoon work and also do things in my real life (being a parent and a mom). Besides being busy doing this comic, I also have to clean, cook for the family and send my daughter to her therapy. And this is what it turned out; the realistic things happened last week.
Mon – Script/storyboard/proofread
Tue– sketch/typeset
Wed– sketch/lineart
Thu– lineart/flats
Fri– flats/shading
Sat– shading/background
Sun– shading/review/draft//fix typeset/schedule new episode/publish new episode

Last night was a bit of a mess. If I didn’t forget about the second page, fix all the typeset and fix the spacing between each panel that close together, I wouldn’t be so nervous and feeling a little bit panicky race against the time… but to my relief I managed to do it on time. Yipeee! 🙂 No more, I make the same mistakes. Huhu.
P/s: You can copy my original schedule as your guidance. And read my Webtoon comic and subscribe to it if you aren’t already. Thank you!
Read my Webtoon comic here.